Necessary packages
Installation
install.packages(knitr)install.packages(rmarkdown)

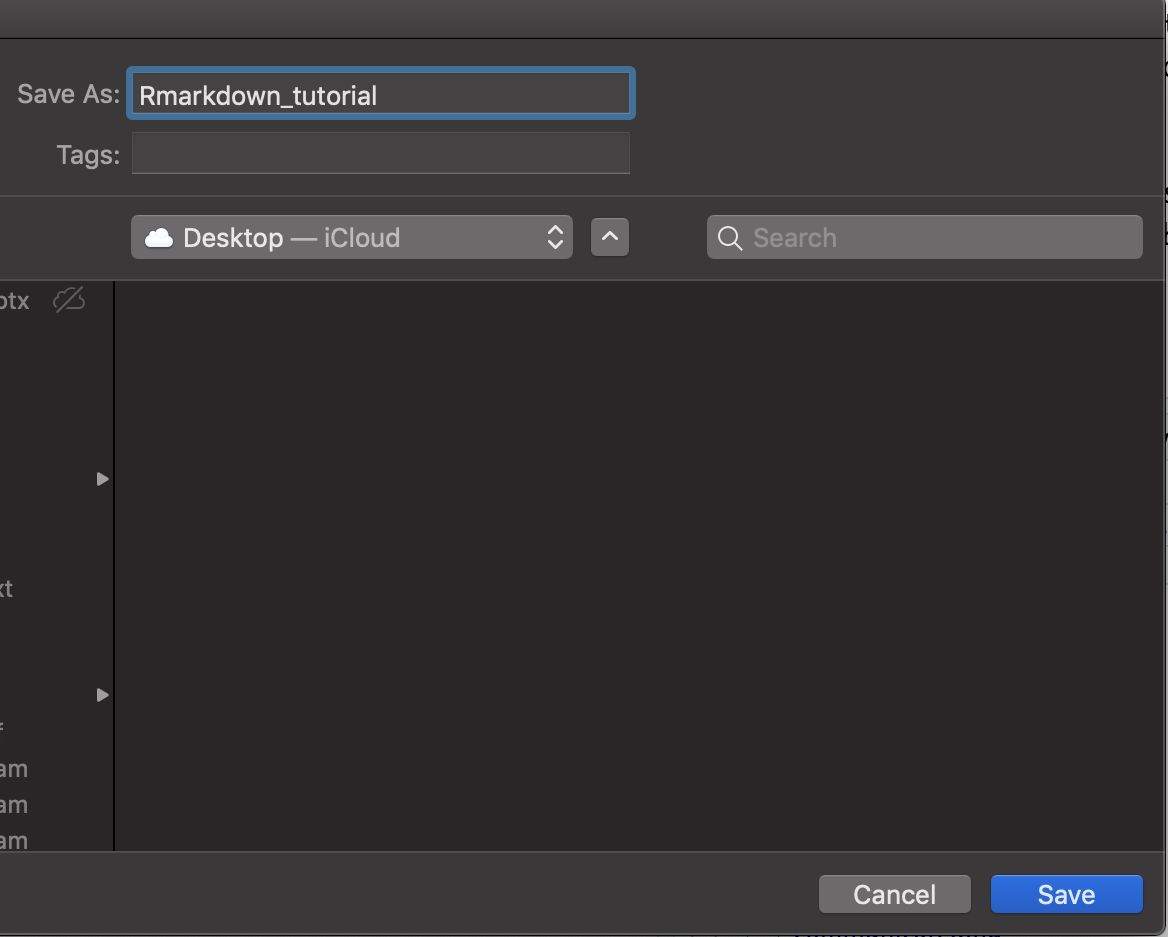
Select a folder to save the document

Give a name to the document
Add R codes
Code
# Header 1This is section 1.## Header 2This is section 1.2### Header 3This is section 1.2.1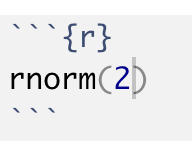
Output
Header 1
This is section 1.
Header 2
This is section 1.2
Header 3
This is section 1.2.1
rnorm(2)## [1] 1.6271067 0.3843959Text formatting
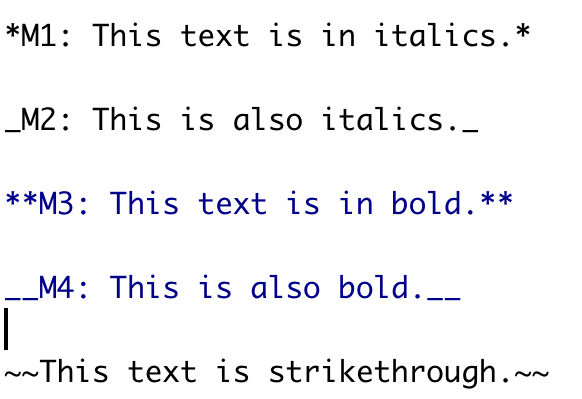
Code
Output
M1: This text is in italics.
M2: This is also italics.
M3: This text is in bold.
M4: This is also bold.
This text is strikethrough.
Mathematical Equations
The code:

Output:
The general formula for the probability density function of the normal distribution with mean and variance is given by
How to type Greek letters?
Please read my blog post here:
Generate PDF and WORD documents
Create a PDF document
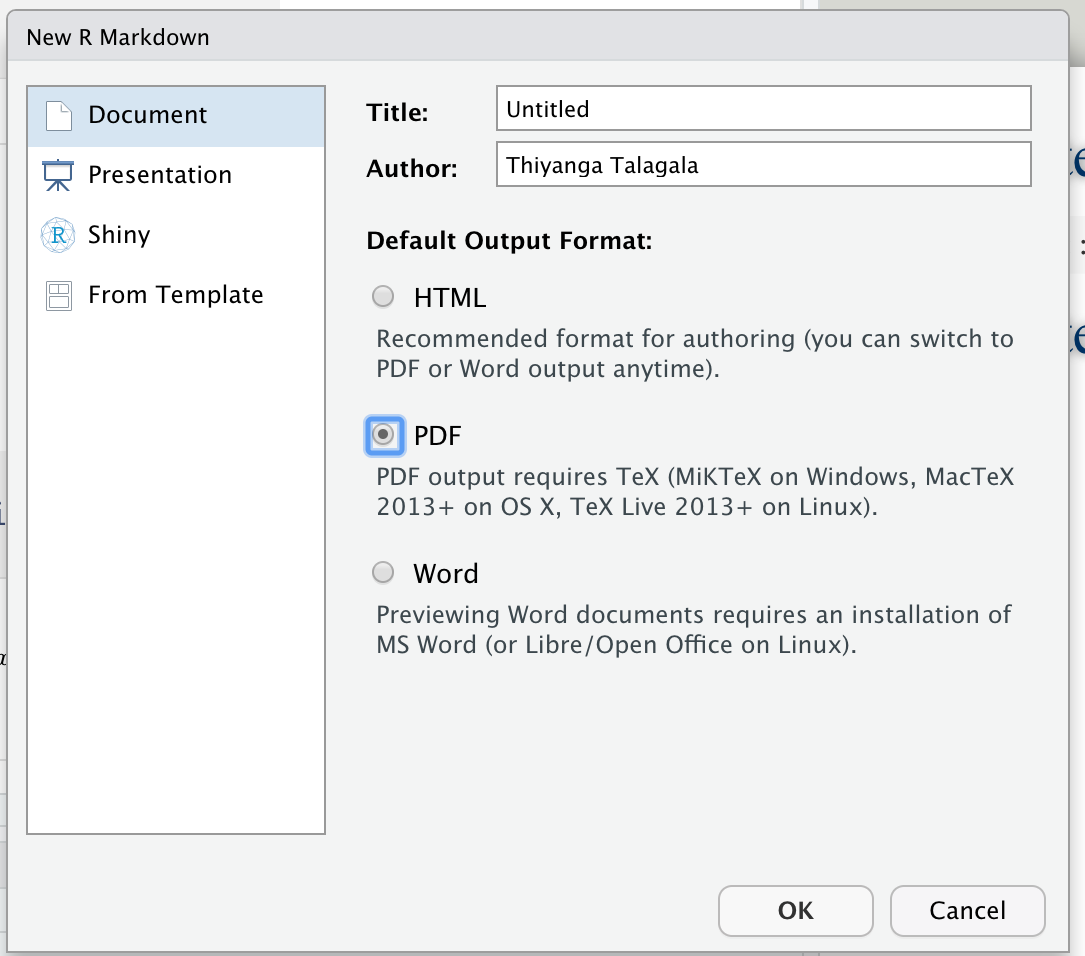
Requires (MiKTex on Windows, MacTex 2013+ on OS X, Tex Live 2013+ on Linux) OR
Install tinytex in R. Type the following code on R Console.
tinytex::install_tinytex()Create a Word document
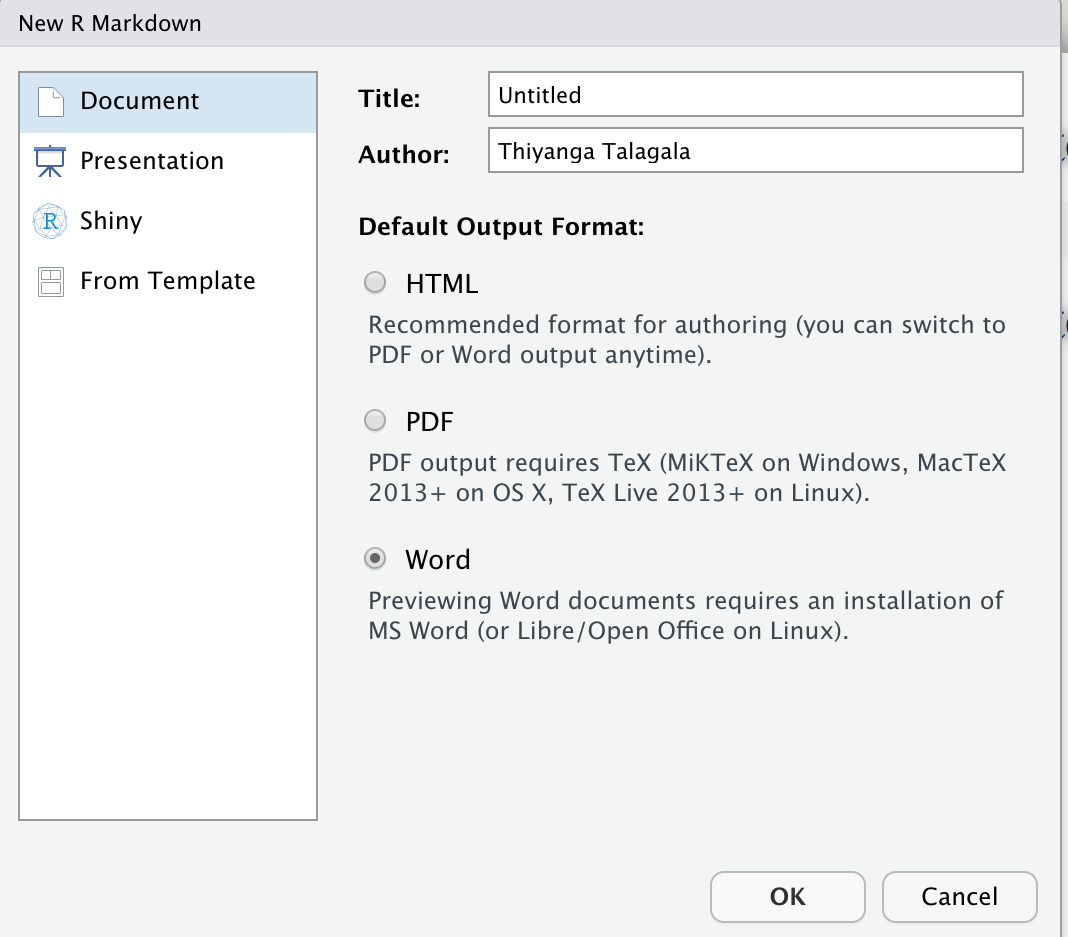
Requires an installation of MS Word.